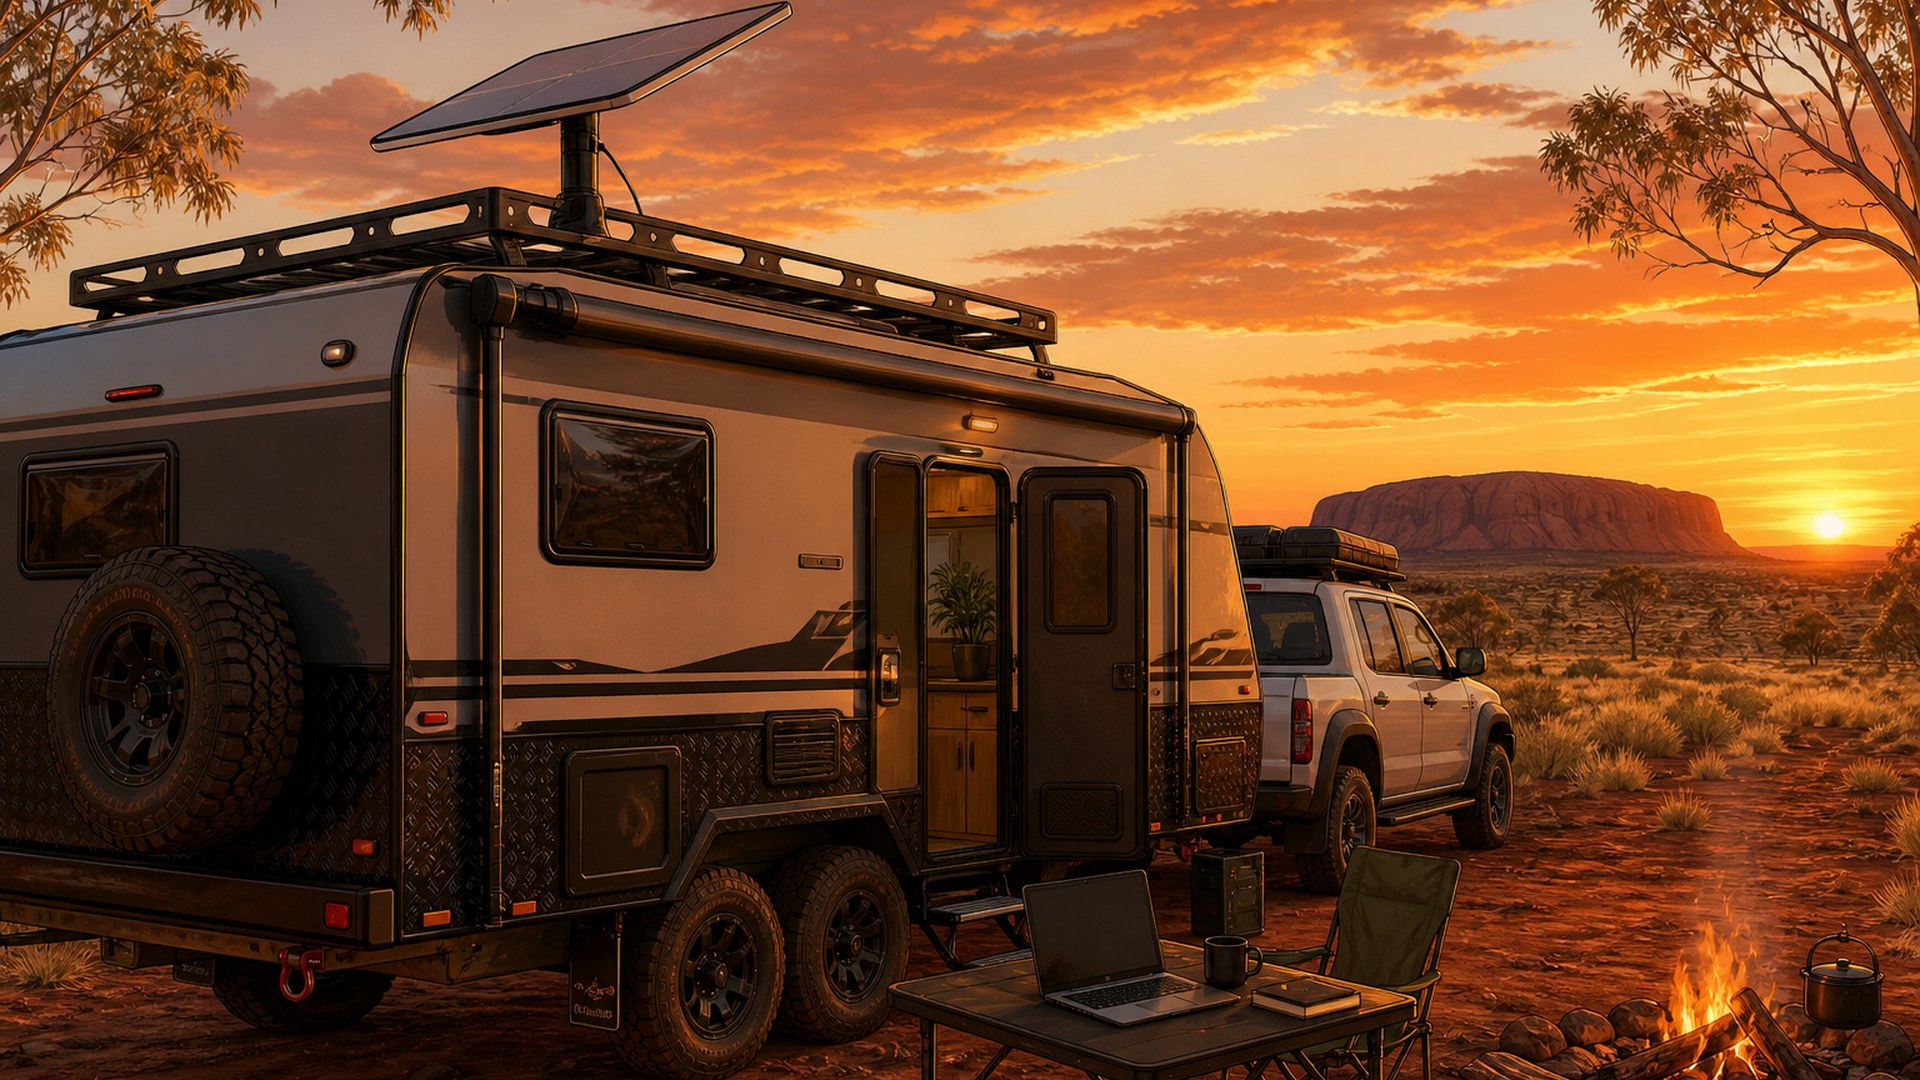

Mount Starlink for a caravan the way the app tells you to: clear sky first, hardware second. Starlink's own Help Center says objects such as a tree branch, pole or roof that obstruct the link will cause service interruptions, and the fix starts in the Starlink app on iOS or Android — open Check for Obstructions, hold the phone as close as possible to the height and perspective of the dish, and scan the field of view before you commit a mount.
For Roam and RV-style use in Australia and New Zealand, the practical fork is portable tripod versus permanent roof mount, and power is either AC through an inverter or 12 V DC direct. Starlink's Australian service-plans page lists Roam for motorhomes, nomads and campers, with Roam 100GB and Roam Unlimited on the public menu, pause via Standby, and published notes on international travel, coastal coverage and in-motion use. Keep the install legal, weather-tight and reversible where you can.
Sky first is not a slogan. It is the official sequence. Go to the location where you want the dish. In the app, select Check for Obstructions. Follow the guided camera scan. Repeat in multiple spots if the first cone is dirty. Starlink says the tool shows what sits in the field of view and gives an overview of the expected experience for various activities. In heavily obstructed areas the company recommends running that check before you order. On a caravan site the same habit saves an afternoon of cable runs into a bad cone.
Australian travellers keep hearing the same southern-sky reminder from local installers who write for caravan audiences: tree lines, annex awnings, neighbouring vans and the caravan's own air-conditioner can all paint red on the map. Hold the phone at dish height — not at eye height on the step — so the scan matches the mount you will actually use. If the app hates the roof, try the drawbar, the open grass ten metres away, or a short walk to the edge of the site before you drill anything.
Portable tripod is the reversible path. A freestanding tripod with a pipe adapter lifts the dish off the ground, lets you walk it to the clearest patch of sky, and sends the cable back through a window or a sealed entry. Hitch poles and telescopic drawbar mounts do the same job with height: raise the dish above the roofline so nearby canopy and vents fall out of the cone. Magnetic mounts on steel roofs and suction options for temporary glass or rental skins appear in third-party RV guides as quick-move tools, not as a substitute for a weatherproof permanent roof job when you want a forever install.
Permanent roof mount is the set-and-forget path. Starlink's obstruction article recommends permanent installation for best performance, cable protection and long-term reliability, and points to the company's installation guidance video. On a caravan that means UV-rated hardware, strain relief, and a sealed cable entry — bulkhead or engineered wall entry — so dust and moisture do not follow the jacket inside. Australian Mini and Gen 3 install write-ups stress drip loops outside, self-leveling lap sealant on rubber roofs rather than silicone that peels, and mounts rated for corrugated outback roads and wind. Drill only on a flat section clear of framing. If you are not competent with roof penetrations, pay someone who is. A wet ceiling is more expensive than a trades invoice.
Stow before you roll. RV-oriented app guides walk the same rule: from Settings, Stow, wait for the dish to fold flat if it is an actuated unit, then drive. A deployed dish is a wind sail. Removable mounts come off for travel. Permanent roof mounts stay, but the dish itself still needs the travel-safe posture the app provides. Use the Stow control Starlink prints in the app — that is the named travel-safe step on the Settings screen.
Power is the second fork. AC path: run the kit from a pure-sine inverter sized for the dish and router draw, fed from the house battery or shore power. It works. It also costs conversion loss — DC to AC to DC again — which matters when you are off-grid on lithium and solar. DC path: Starlink Mini is designed around DC input in the published RV kit literature, with fused house-battery wiring and the Mini's DC cable; Standard kits can use Starlink's DC power supply accessory that accepts a wide DC input range, or a third-party step-up converter / PoE injector architecture that keeps the inverter out of the loop. Fuse close to the battery. Use appropriately gauged stranded copper. Put a kill switch on the panel so you can reboot without yanking connectors in the rain.
Exact amp draws and fuse values vary by kit generation and whether snow-melt or high load features are active — read the label on your power supply and the instructions that shipped with your dish. Third-party Australian Gen 3 and Mini DC hardwire write-ups publish fuse and cable guidance that differs by converter design; treat those as installer practice notes, not as a substitute for the rating printed on your own hardware. Metric stays metric: cable lengths in metres, wire in millimetres squared or AWG as marked, battery banks in amp-hours.
Roam plan considerations for Australia and New Zealand belong on the calendar before the trip, not after the border. Starlink Australia's public Roam page lists Roam 100GB and Roam Unlimited with Standby pause, and tells users to read the FAQ for limitations on international travel, coastal coverage and in-motion use. Starlink's Roam marketing elsewhere states Roam Unlimited includes international coverage in 160-plus countries and territories, while Roam 100GB is framed for travel within the home country. Independent 2026 coverage of Starlink's mid-year Roam policy update reported tighter international rules: Roam Unlimited framed with a limited consecutive international window, metered Roam plans confined to the registered home country or grouped region, and identity / travel registration steps for international use. Australia and New Zealand are not treated as one grouped region in that reporting — a Tasman hop can count as international for an Australian-registered kit. Confirm the live account rules in your Starlink account and on starlink.com for your country before you assume a plan still works the way a 2024 blog said it did.
In-motion and marine footnotes stay honest. Roam marketing mentions in-motion use and coastal / inland water coverage on Roam plans, with Maritime products for heavier ocean work. Caravan howto here is land-based: parked or travelling on roads, dish mounted legally, not a boat survey. If your kit's terms restrict use while driving, obey them. If a parks authority or strata rules ban roof dishes or generators, obey those too. Legal and safe beats clever.
Cable hygiene is half the reliability story. Use weatherproof entry. Strain-relieve at the dish and at the bulkhead. Keep spare length in a service loop, not a trip hazard. Label the fuse. Keep the router ventilated. On Mini installs with integrated router, still mind heat soak on a metal roof in Australian summer — shade and airflow matter. Overheating and Obstructed are app alerts RV guides already map to simple actions: move the dish, improve airflow, check the cable, wait through Searching, then reposition.
Stay on the public rails. Check for Obstructions, clear sky, permanent install preference for reliability when you want set-and-forget, Roam plan pages, DC versus AC power trade-offs, sealed cable entry, stow before travel. Skip firmware version names Starlink has not printed for your kit, unpublished speed guarantees for a specific campsite, and any claim that one mount brand is "approved" unless Starlink prints that approval. Local Australian installer blogs — SpaceTek, RV WiFi and similar — are useful colour for Mini versus Standard Gen 3 sizing and outback mounts; they are not Starlink corporate policy. When they conflict with the Help Center, the Help Center wins.
Walk-through on arrival, spoken slowly. Park. Open the app. Scan at dish height. If the cone is clean, set the tripod or confirm the roof mount still points at open sky after the annex went up. Power on from the fused DC feed or the inverter. Wait through the first search. Run the app's status and obstruction map after you have some hours on site — longer runs build a clearer obstruction picture than the first minute. Change Wi-Fi name and password. If you need Ethernet to an onboard router, use the kit's supported LAN path rather than a mystery adapter. Before departure: Stow, pack the tripod, check the roof latch, kill the dish switch so the bank is not sipping overnight when you meant Standby on the plan.
Metric sheet for the glovebox. Obstruction tool: Starlink app, Check for Obstructions, phone at dish height. Mount fork: portable tripod / hitch / drawbar pole versus sealed permanent roof mount. Power fork: AC via pure-sine inverter, or 12 V DC direct with fused circuit and the correct DC supply for Mini or Standard. Plans: Roam 100GB and Roam Unlimited on Starlink Australia's public menu; Standby pause; read live international and in-motion FAQ before crossing borders. Regions: treat Australia–New Zealand travel as a plan question, not an assumption. Safety: fuse at the battery, UV and sealant on roof work, stow before driving, obey park and road rules. Sources: Starlink Help Center obstruction article; Starlink Australia service plans / Roam pages; publicly documented Roam international policy reporting in 2026; Australian RV install guidance for mounts and 12 V practice. Clear sky, honest power, sealed cable — that is the mount.
Where it holds up: a caravan can run useful broadband from a Roam kit when the sky is open and the battery plan matches the dish. The app gives you a tool that did not exist for older satellite dishes — a camera scan before you commit. DC kits cut inverter waste. Standby lets you pause between trips. None of that removes the need for a fuse, a drip loop, or a second scan after the neighbour's van parks under your favourite tree. Do the scan. Mount once if you can, move the tripod if you must. Keep it legal. Keep it dry. Then make the cup of tea while the dish finds the constellation.
The paper
Comments
No notes on this story yet.
Sign in to comment